Plan 30 days of YouTube Shorts without struggling to find a new video idea every day. A simple content calendar helps you organise topics in advance, record videos in batches, and publish consistently with a clear purpose.
You do not need expensive equipment or a complicated production setup to get started. With a practical plan, a repeatable workflow, and a list of ideas, you can make short-form video creation easier to manage.
In this beginner-friendly guide, you will learn how to choose your topics, organise content categories, build a 30-day calendar, and prepare videos for publication. You will also discover a free creator planning pack from Digit2Vault that can help you organise your workflow.
1. Choose Your Main Topic
Before planning 30 days of YouTube Shorts, decide what your channel will help viewers learn, understand, or enjoy.
Choosing a main topic gives your channel direction. It also makes brainstorming easier because you can develop several ideas around the same subject.
For example, your channel might focus on:
- Video editing tips for beginners
- Practical tutorials for YouTube creators
- Helpful AI tools for content creation
- Photography and design techniques
- Productivity tips for creative professionals
- Behind-the-scenes content about your workflow
Choose a topic that matches your knowledge, interests, or experience. You can explore related subjects later, but begin with a clear focus so viewers can understand what your channel offers.
2. Create Four Repeatable Content Categories
Instead of planning 30 unrelated videos, divide your topic into four content categories. These categories give you a simple structure for brainstorming ideas throughout the month.
Category 1: Quick Tips
Share one useful technique, shortcut, lesson, or recommendation in each video.
Examples:
- One video editing shortcut beginners should know
- A simple way to organise project files
- One mistake to avoid when recording videos
Category 2: Tutorials
Show viewers how to complete one specific task. Keep each tutorial focused on a single result rather than trying to explain everything at once.
Examples:
- How to create a simple video transition
- How to improve thumbnail readability
- How to organise a content calendar
Category 3: Common Problems and Solutions
Identify a problem your audience regularly faces and explain a practical way to address it.
Examples:
- Why your video looks blurry after exporting
- How to avoid cluttered designs
- What to check when a project file will not open
Category 4: Inspiration and Behind-the-Scenes
Show your creative process, share lessons from experience, or explain how you approach a project.
Examples:
- A look at your video production workflow
- Three lessons learned from a recent project
- How you organise ideas before recording
These four categories can help you maintain variety while keeping your channel focused.
3. Build Your 30-Day YouTube Shorts Content Calendar
A content calendar turns a collection of ideas into a manageable plan. You do not need to publish a complicated video every day. Start by deciding what you can realistically create with your available time and resources.
To plan 30 days of YouTube Shorts effectively, balance quick tips, tutorials, problem-solving videos, and behind-the-scenes content throughout the month.
Here is a sample 30-day plan you can adapt to your own niche.
Week 1: Introduce Your Topic
Day 1: Introduce your channel’s main topic and explain what viewers can learn.
Day 2: Share one useful beginner tip.
Day 3: Demonstrate a simple technique.
Day 4: Explain a common mistake and how to avoid it.
Day 5: Answer a frequently asked question.
Day 6: Share a useful tool or resource relevant to your audience.
Day 7: Review the week’s content and note which topics deserve follow-up videos.
Week 2: Teach Practical Skills
Day 8: Demonstrate a helpful shortcut.
Day 9: Create a quick step-by-step tutorial.
Day 10: Compare two approaches to the same task.
Day 11: Explain a beginner’s mistake.
Day 12: Share a practical checklist.
Day 13: Show a behind-the-scenes moment.
Day 14: Review audience comments and collect ideas for future videos.
Week 3: Solve Audience Problems
Day 15: Identify one common problem in your niche.
Day 16: Demonstrate a possible solution.
Day 17: Share a useful do-and-don’t example.
Day 18: Explain a tool feature people may overlook.
Day 19: Answer another common question.
Day 20: Share a workflow improvement.
Day 21: Review your recent videos and identify subjects to explore further.
Week 4: Build Consistency
Day 22: Revisit an earlier topic with a new example.
Day 23: Share three quick recommendations.
Day 24: Demonstrate a more advanced technique for your audience.
Day 25: Explain how to avoid a recurring problem.
Day 26: Share a useful resource with a clear explanation of its purpose.
Day 27: Show your process from preparation to final result.
Day 28: Answer a question from your audience.
Day 29: Summarise the most useful lesson from the month.
Day 30: Review the month’s results and outline topics for the next content calendar.
Treat this as a starting point, not a strict rule. Swap ideas, change the order, or take breaks when needed. The aim is to build a sustainable publishing routine.
4. Write a Simple Hook for Every Video
Need inspiration for your next video opening? Explore our guide to 30 YouTube Shorts Hook Ideas for Beginners.
The opening moments of a Short should make its subject clear and give viewers a reason to continue watching.
Avoid long introductions that delay the useful information. Start with the problem, result, question, or technique your video will cover.
Examples of opening hooks include:
- “Stop making this common editing mistake.”
- “Here is a simple way to organise your video projects.”
- “Three things to check before exporting your video.”
- “Want to make your thumbnails easier to read?”
- “Here is a faster way to plan your next week of content.”
Choose a hook that accurately represents the video. Deliver the promised information rather than relying on exaggerated claims.
For official instructions on creating Shorts, read the YouTube Shorts creation guide.
5. Batch Your Recording and Editing
Creating every Short from scratch on the day of publication can make your workflow harder to maintain. Batching similar tasks can help you use your time more efficiently.
Try this simple process:
Step 1 — Research: Collect video ideas and useful reference material.
Step 2 — Outline: Write a short script or a few key talking points for each video.
Step 3 — Record: Record several related videos in one session when practical.
Step 4 — Edit: Work through the recordings using a consistent editing process.
Step 5 — Review: Check audio clarity, visual quality, captions, spelling, and the final export.
Step 6 — Schedule: Prepare titles, descriptions, and publication dates in advance.
Keep reusable elements such as project templates, sound effects, and checklists organised in clearly named folders. Only use media you have permission to use.
6. Track Your Ideas and Production Progress
A content calendar is more useful when it shows what is planned and what still needs to be done.
For each video, record:
- Working title or topic
- Content category
- Opening hook
- Script or outline status
- Recording status
- Editing status
- Thumbnail or cover status, where applicable
- Planned publication date
- Published video link
- Performance notes
Simple status labels such as Idea, Planned, Recording, Editing, and Published make it easier to see what needs attention.
At the end of each week, review your progress. Note which topics generated useful audience responses, which videos were easiest to produce, and where your workflow needs improvement.
Use your observations to make the next month more manageable. Do not judge a video’s success only by its early view count; consider your goals, audience response, and longer-term patterns as well.
7. Get the Free Digit2Vault Creator Starter Pack
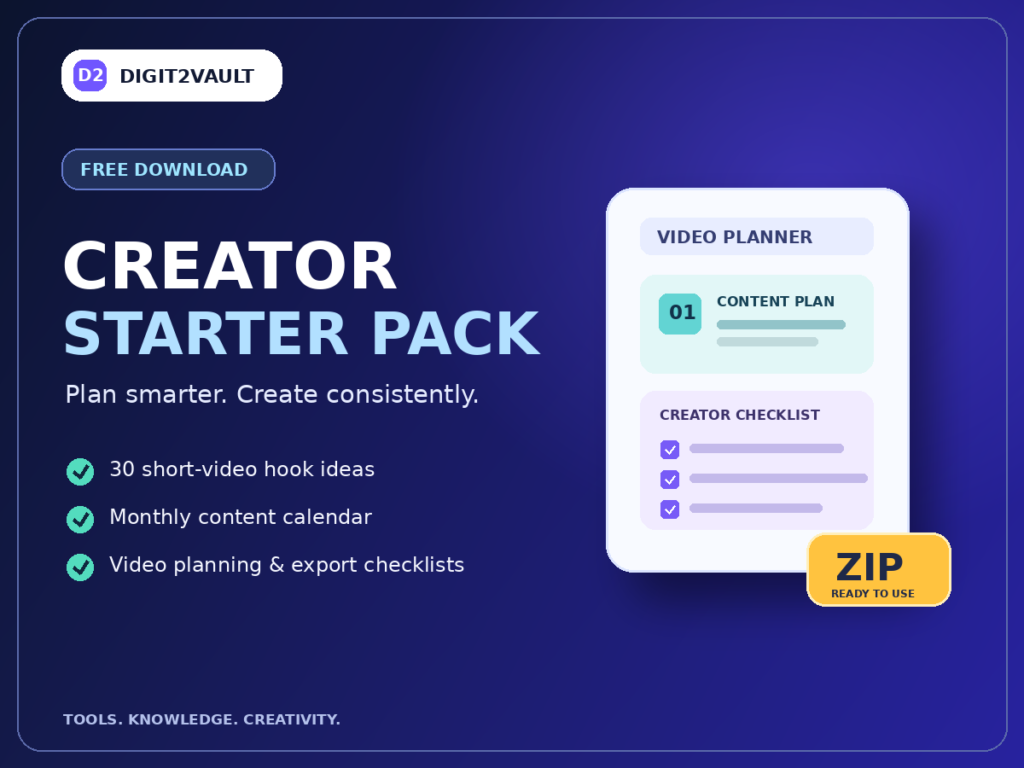
Organising every task manually can take time, especially when you are building a new publishing routine. Digit2Vault offers a free Creator Starter Pack designed to help creators plan and manage their video workflow.
The pack includes:
- 30 short-video hook ideas
- A monthly creator content calendar
- A printable video planning worksheet
- A video production checklist
- A thumbnail planning resource
- A video export checklist
- A digital asset licence tracker
These resources can help you keep your ideas, production tasks, and project checks in one organised workflow.
To get started, visit the Free Resources section on Digit2Vault and look for Digit2Vault Free Creator Starter Pack. Review the included files and choose the planning tools that fit your process.
The pack is a planning aid, not a guarantee of views or channel growth. Your results will depend on your content, audience, consistency, and many other factors.
8. Review Your Results and Improve Next Month
At the end of your 30-day plan, review what you learned rather than simply moving on to another month.
Ask yourself:
- Which topics generated the most useful viewer responses?
- Which videos were easiest to plan and produce?
- Where did you spend more time than expected?
- Which questions appeared repeatedly in comments?
- What could you simplify in the next production cycle?
Use these observations to refine your content categories, hooks, recording schedule, and production checklist.
You can repeat the same planning process every month while adjusting the ideas to suit your audience and goals. Over time, a clear workflow can make content creation more organised and easier to sustain.
Frequently Asked Questions
How do I plan 30 days of YouTube Shorts as a beginner?
Start by choosing one main topic, dividing it into a few repeatable content categories, and listing 30 video ideas. Arrange the ideas in a calendar and allow enough time for scripting, recording, editing, and reviewing each video.
Do I need to upload a YouTube Short every day?
Not necessarily. A daily schedule may suit some creators, but a consistent schedule you can maintain is more useful than an ambitious plan that becomes difficult to follow. Adjust your publishing frequency to your time and resources.
How long should a YouTube Short be?
Choose a duration that fits the information you want to communicate. Keep the video focused, remove unnecessary pauses, and make sure the content delivers on its opening hook.
What should I track in a video content calendar?
Track the topic, hook, category, production status, planned publication date, published link, and any useful performance observations. A simple system is usually easier to maintain than a complicated one.
Is the Digit2Vault Creator Starter Pack free?
Digit2Vault lists a free Creator Starter Pack in its Free Resources section. Visit the resource page to review the available files and download instructions.
Final Thoughts
Planning 30 days of YouTube Shorts becomes more manageable when you break the process into small, repeatable tasks. Choose a clear topic, organise ideas into categories, use a practical content calendar, and prepare videos in batches whenever possible.
Start with a plan you can realistically maintain, then improve it using what you learn each month.
Ready to organise your next month of content? Visit Digit2Vault’s Free Resources section and explore the free Creator Starter Pack to help organise your ideas and production workflow.